Over the weekend I tackled a fun little DIY project in my tiny office. Right behind my desk I have a big wall that needed some attention.
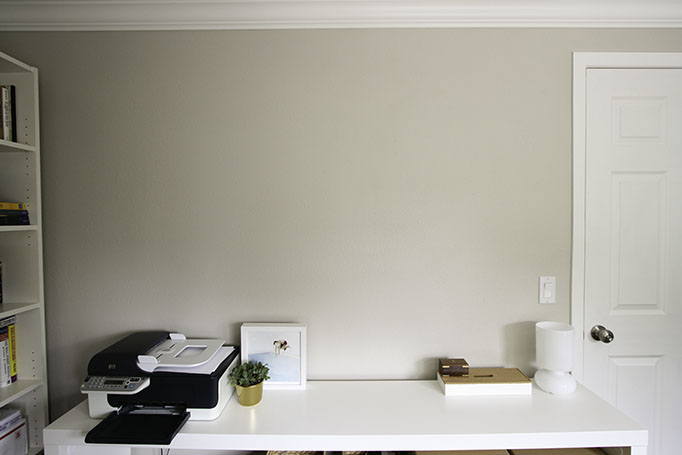
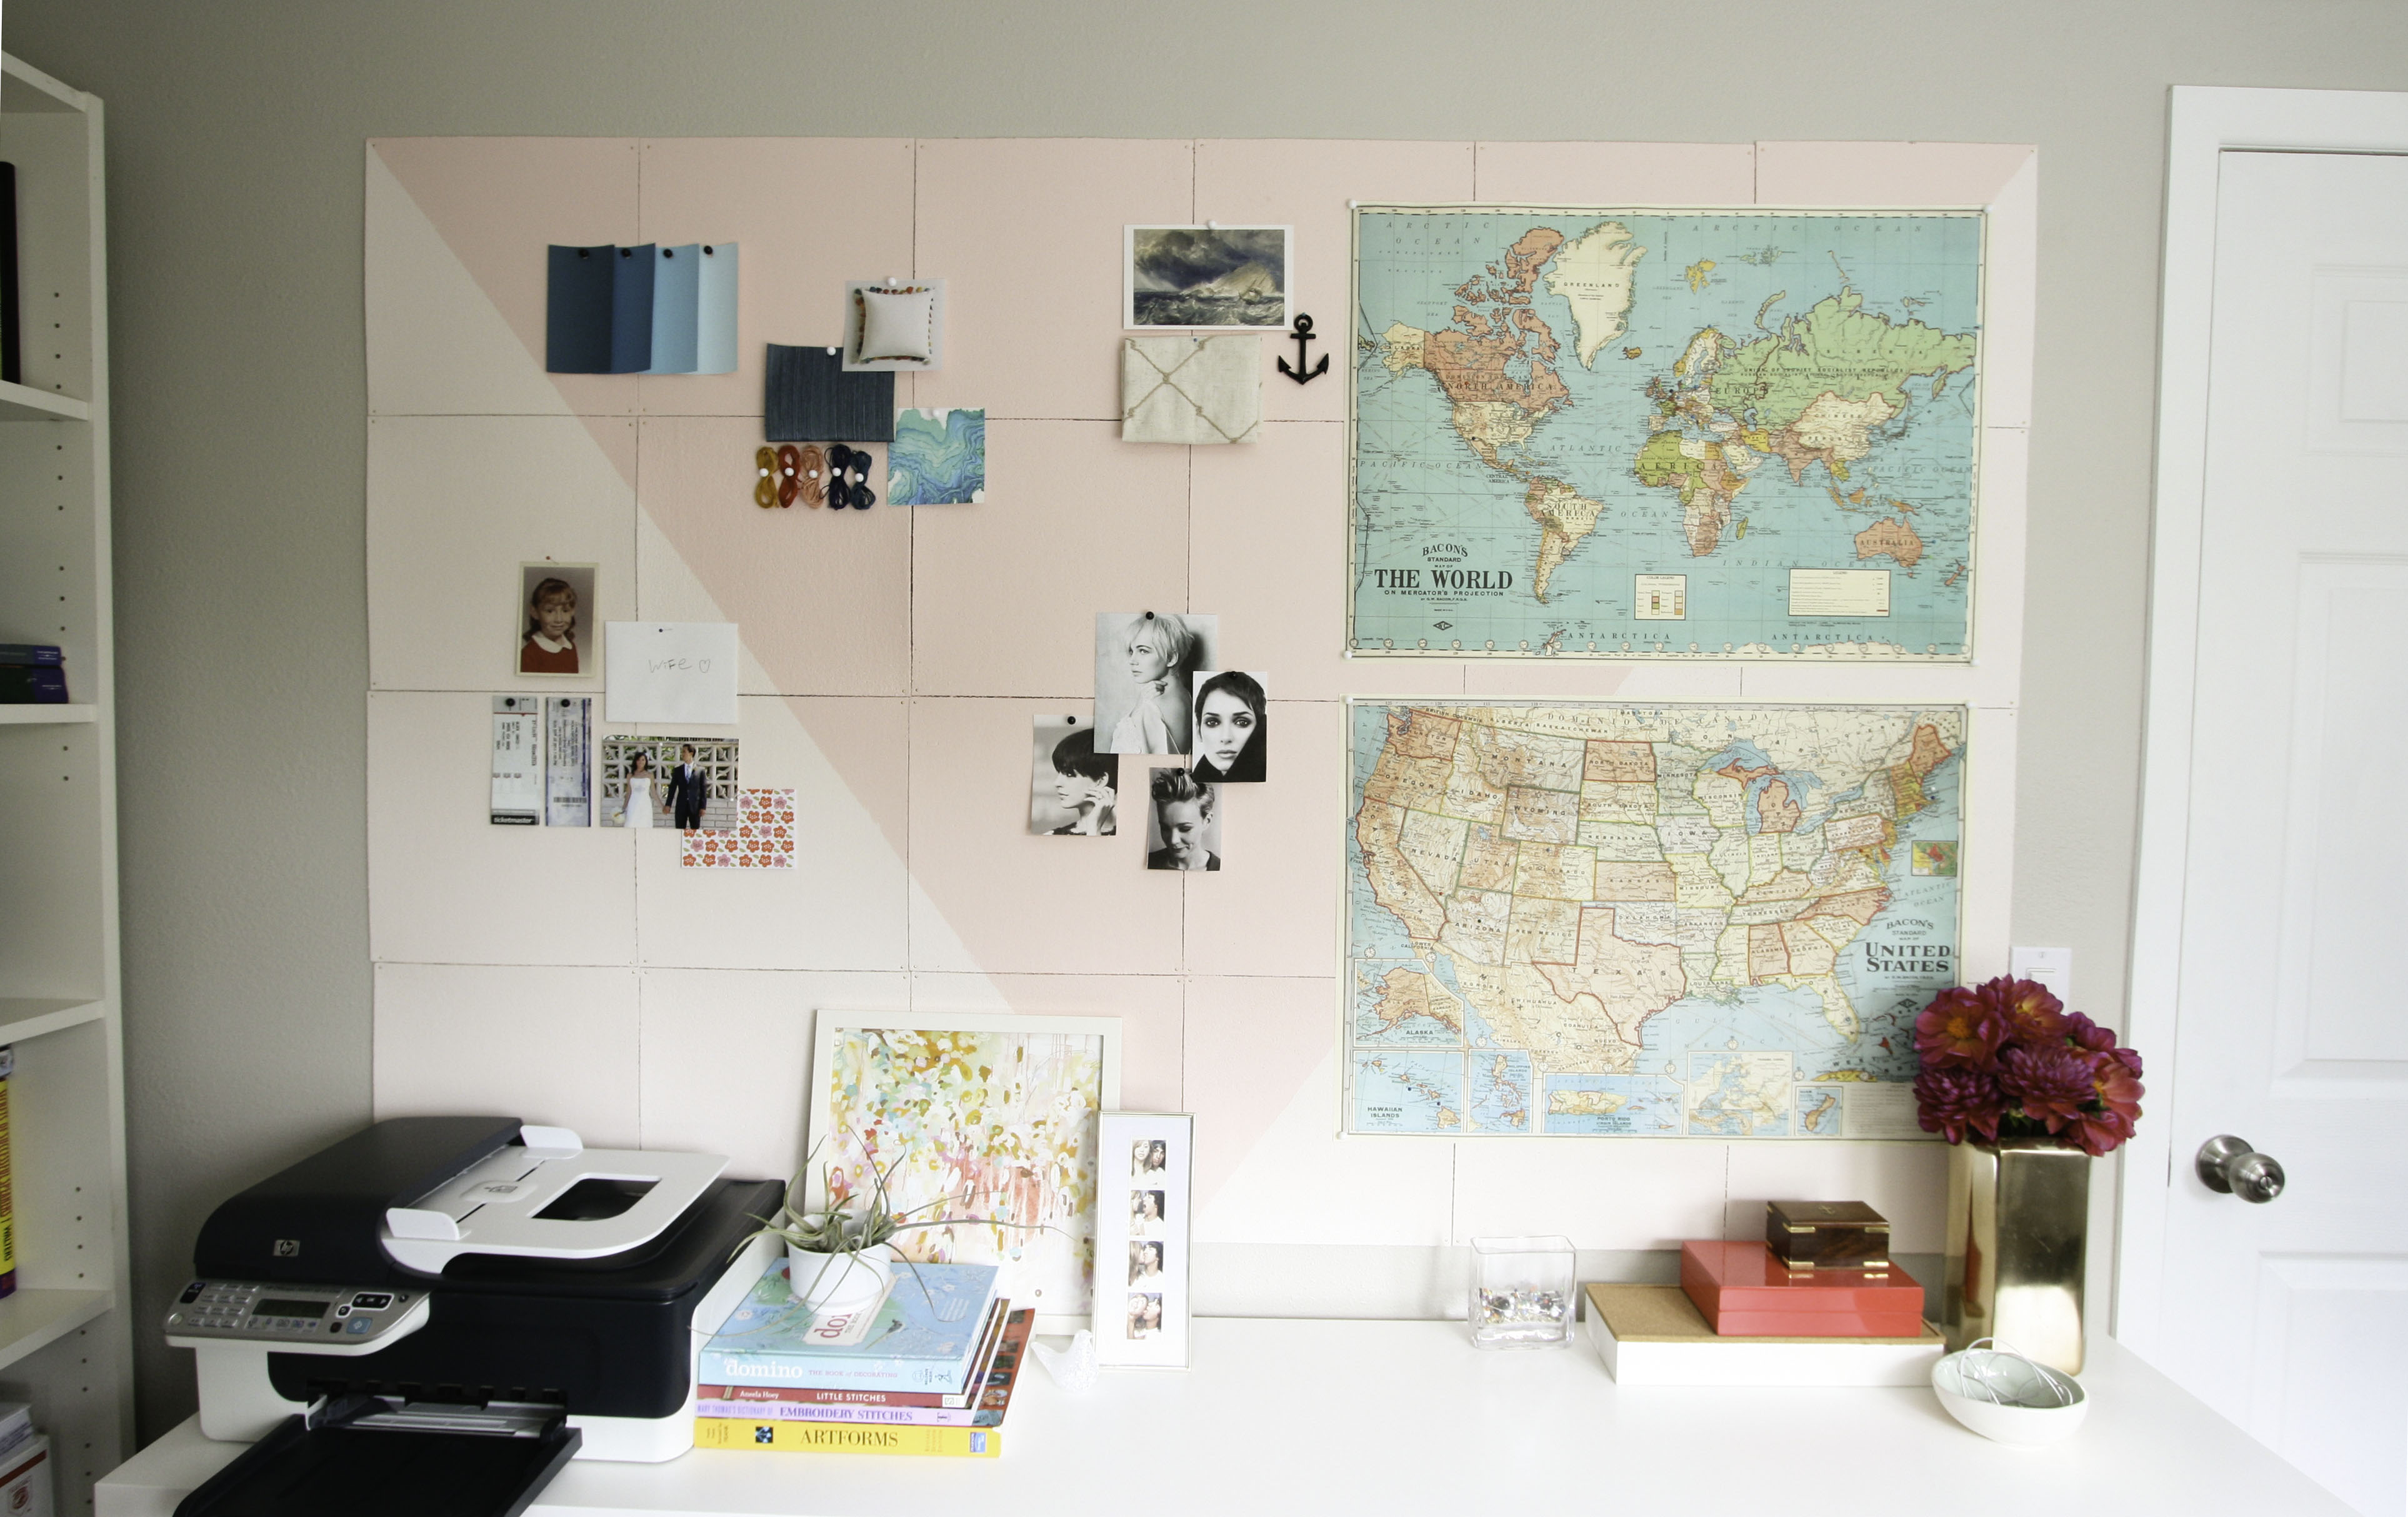
The console you see houses my printer, and below the console I have containers filled with all my stuff for work. But above the console, nothing. Boring! So I decided this would be the pefect spot for a mood board. It’s so helpful for me to have space for a big mood board for when I’m working on clients’ projects or just gathering inspiration for myself. After all was said and done, here’s my wall now!
It was really easy, so let’s get started! One thing to note is that I used cork tiles rather than a large roll of cork. This was more a “buy now and decide what to do with it later” move than anything else. I just saw the tiles at Target and decided to buy them without a clear idea in mind yet for how I’d use them. In hindsight, a roll of cork would have been way easier to deal with than tiles, so you might want to consider that if you decide to tackle this project! That said, here’s what you’ll need:
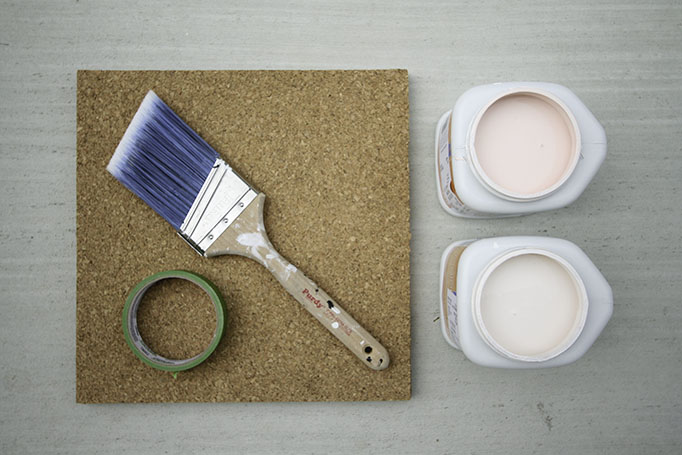
Cork (either cork tiles or a roll of cork)
Primer (optional)
Paint colors of your choice (I used two colors – a light pink and a slightly darker pink)
Painters tape
Paint brush
Kraft paper
Small nails
Hammer
Level
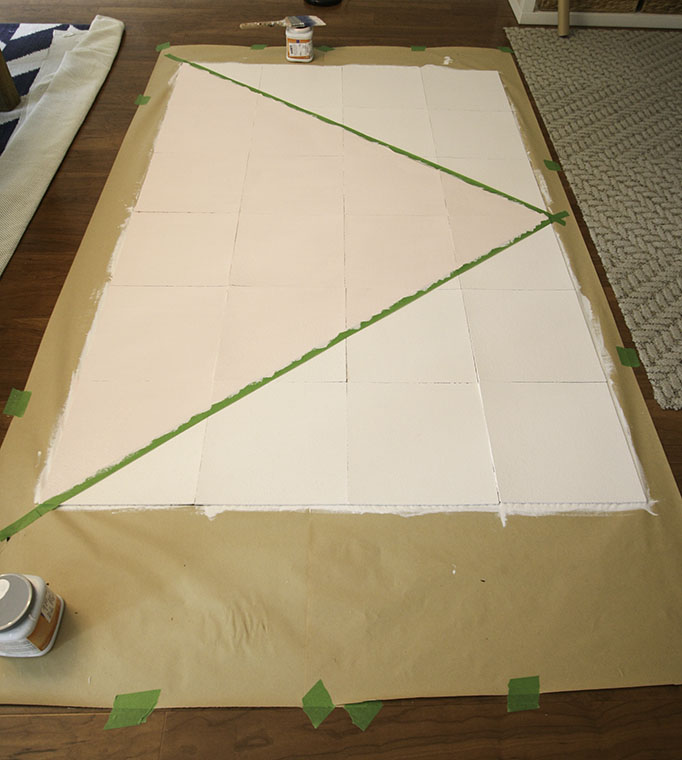
Start by laying out your kraft paper and then lay your cork tiles on top. It helps to use a little rolled piece of painters tape on the back of each tile to stick them to the kraft paper. I went over the tiles with a quick coat of primer just because the cork is so porous and I wanted to make sure my colors went on nicely. The primer doesn’t have to be pretty, just slap it on there. You can skip this step if it’s a little too nit picky for you!

Once the primer is dry, paint all the tiles with your first color (in my case it was the lighter pink). Let this first coat fully dry (a couple hours). Then tape off your pattern! I just did a simple triangle. Layer on your second color and again, you’ll want to let this coat dry fully. I also found that when it was time to start handling the tiles, it was helpful to take an Exacto or box cutter and cut along the cracks between the tiles to cut through the paint that settled in the cracks. Then the tiles pulled up easliy.
Then it was time to hang! Going one by one, I hammerd a tiny nail into all four corners of the tiles and used a small level to make sure I was keeping everything staright as I went along. It only took a few minutes to hang the whole thing! At this point you could hit the nail heads with a dab of paint so they blend in.
If you go the route of using a roll of cork, I would suggest you start by hanging the cork on the wall and just paint it right in place! Throw some painters tape on the wall at the edges of the cork so your walls stay protected. You eliminate the Kraft paper step by using the cork roll which is nice (if you tried painting the tiles in place on the wall, paint would get in between the cracks and end up on your wall). I do, however, like the grid pattern the tiles create, so just go with your own preference!
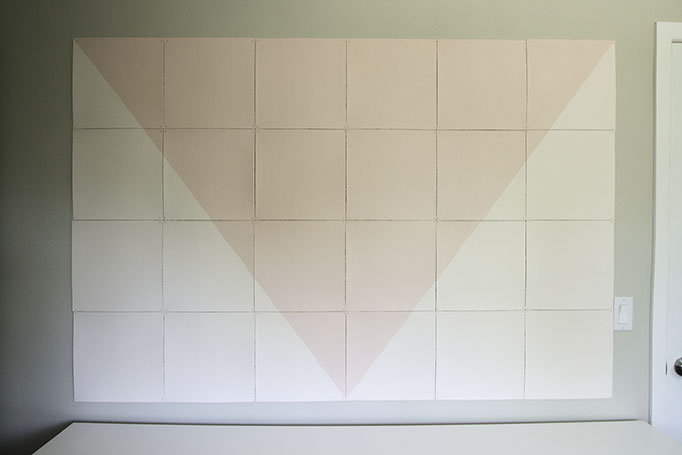
I love the bold graphic nature of this mood board. I also like that the colors aren’t too intense so it doesn’t take away from the pictures and materials I tack up there. It’s so nice having a spot that is totally dedicated to inspiration!